Email : hshuimen@163.com
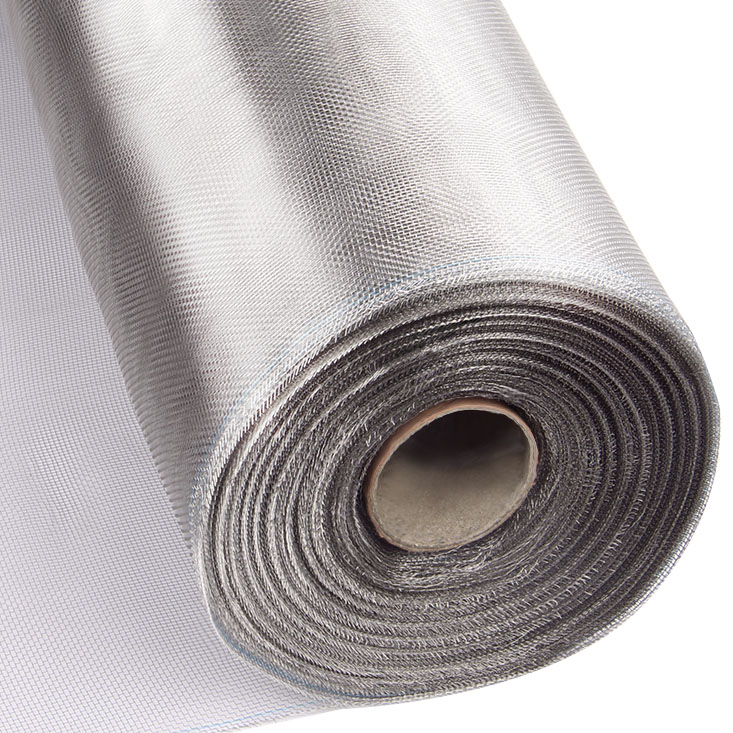
Before buying materials, check window screen frames. If bent or twisted, replace them. Kits have different colors and finishes. They are all easy to assemble. A kit includes four frames, four corner pieces, two pull-tabs, two tension springs, screening material and a rubbery cord.
Consider corner piece size after getting dimensions. Corner pieces are usually 3/4 inch square. Use two, adding 1 1/2 inches to measurements. Subtract this length from your measurements.
Cut the frame with a hacksaw. Ensure the cut is square. Otherwise, corner pieces won’t fit. Insert tension springs into the bottom frame. Then add corner pieces to fix the springs. Test the frame on the window. Trim it with a hacksaw if it doesn’t fit.
Place the frame flat, grooved side up. Cut the screen a few inches larger than the frame on all sides. Use a screening tool to push the cord into the frame’s groove. A screwdriver works too, but avoid ripping the screen.
Cut corners diagonally to prevent wrinkles. Start at a corner, push the cord (with screen) into the groove. Pull the screen taut gently. Don’t pull too tight—frames may twist. Trim excess fly screen mesh with a utility knife after inserting the cord all around.
For aluminum frames, cut screen slightly larger. Press a vinyl spline into the frame’s groove. Trim excess screen. Spline sizes range from .140″ to .190″. Use a spline roller to press it in. Avoid over-tensioning to prevent frame warping.
For wooden frames, tack or staple the screen. Add narrow wooden molding over the edge. Stretch the screen tightly but not to deformation. Don’t use non-aluminum metal screens on aluminum frames—they corrode.