

Email : hshuimen@163.com
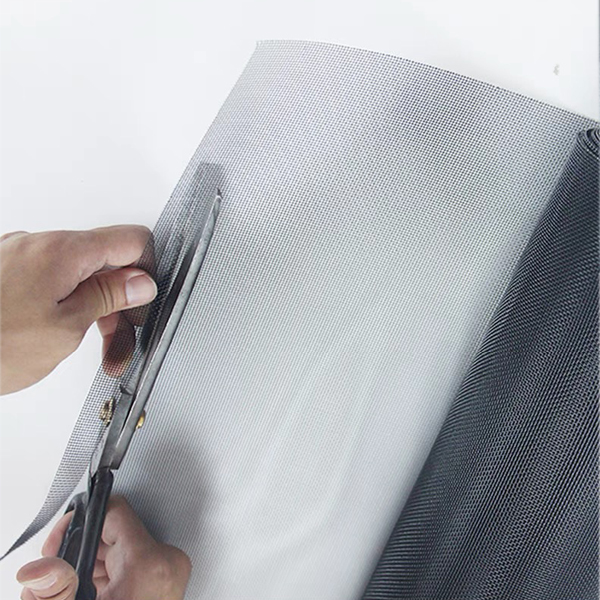

Aluminum fly screen mesh is very suitable for DIY household installation. Its lightweight and rigid structure is easier to operate than soft fiber mesh. It is not prone to excessive wrinkling and random deformation. Homeowners can finish window screen replacement and upgrading by themselves. This method saves expensive professional construction fees. It also allows flexible construction according to personal schedule.
Before installing aluminum fly screen mesh, prepare basic tools and clean the window frame thoroughly. Remove old damaged screens, rubber strips and residual dust. Keep the frame flat and clean. Measure the window internal size accurately. Cut the aluminum mesh with proper margins. Place the flat aluminum mesh on the window frame. Keep uniform tension on four sides. Do not pull too tight or place too loose. Fix the mesh with sealing rubber strips step by step. Press the edges firmly to eliminate tiny gaps.
After installation, check the overall flatness and firmness of aluminum fly screen mesh. Trim excess edge materials to ensure neat appearance. Shake the screen slightly to confirm no loosening or sagging. A standard installed aluminum screen has tight edge fitting. It completely blocks external insects and guarantees smooth ventilation. Mastering simple DIY skills helps every family replace aluminum fly screen mesh independently. It achieves perfect window protection with low cost and high efficiency.